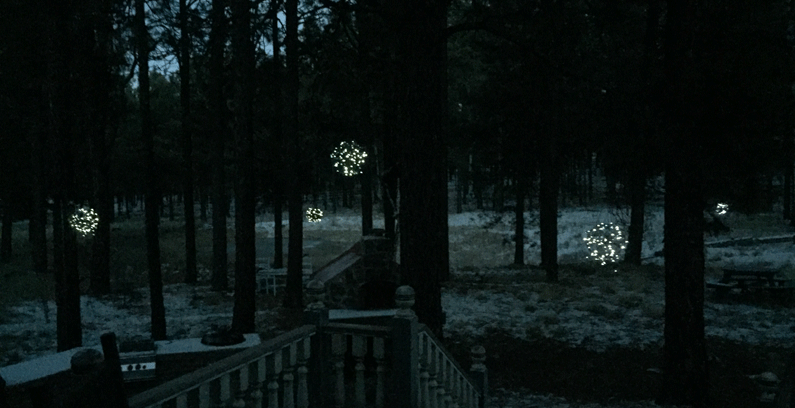
In recent days we’ve created a Winter Wonderland with solar lights, iron baskets, and plenty of suggestions from family and family-to-be. We’re still working out the bugs, but so far I’m thrilled with the results! If you’re interested in trying it, some directions follow the slider.
Materials Needed:
- Hanging plant baskets (2 for each ball). You can find these at hardware and home stores. I got lucky and found them on sale for $4.95 each.
- A string of LED Solar Powered Lights (we used “17-meter Strings of 100 LED Solar Powered Fairy Lights” from 25 Main Street)
- Zip ties
From Planter to Solar Ball:
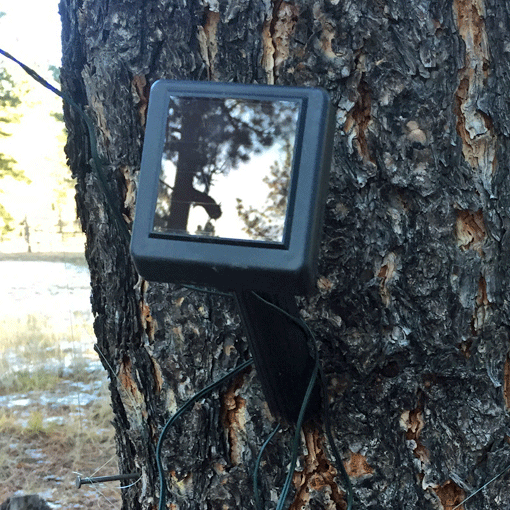
- Allow the solar lights to charge a full day before using.
- Remove the coconut liners and detach the hanging chains from the plant baskets.
- Place the wide ends of two baskets together to form a ball. Using two or three zipties, fasten them to one another. Strategically place the ties so that the baskets don’t slide. Basket designs differ, so experiment.
- String lights around the ball. This is the tricky, time-consuming, and creative part. On this first round, we strung lights around each iron bar. (Tying the light string into four or five bundles and working with a bundle at a time kept it from becoming a tangled mess). Other methods might include wrapping the string horizontally and vertically around the outside of the ball, or arranging and suspending bundled lights in the ball’s interior.
- Reattach one of the hanging chains to the top of the ball.
- Hang the ball outside and position the solar panel where it will get the most direct sunlight. Easier said than done in our case—still working this out. Don’t forget to leave the solar panel in “on” position.

Finally, gather family and friends before a picture window at twilight. The supportive ones will “ooh” and “aah” when the balls light up! For some reason, ours popped alight one right after the other, which was pretty cool.